






Every parent knows that children’s creativity can quickly fill up your home with colorful drawings, paintings, and crafts. While these masterpieces are precious, finding effective ways to organize and store them can be challenging. Without a plan, kids’ artwork can become cluttered, making it hard to appreciate and preserve these wonderful memories.
In this post, we’ll explore practical and creative tips to keep kids’ art organized, so you can celebrate their creativity while keeping your space neat and inviting.
Why Organizing Kids’ Art Matters
Before diving into the tips, it’s helpful to understand why organizing kids’ art benefits both parents and children:
– Preserves memories: Artworks are snapshots of your child’s growth and creativity.
– Encourages creativity: Displaying art shows your child you value their work.
– Reduces clutter: Keeps your home tidy and stress-free.
– Simplifies sharing: Easier to find and share pieces with family and friends.
Now, let’s explore how to keep this process manageable and enjoyable.
1. Create a Dedicated Art Space
Having a designated area for art projects helps contain mess and gives kids a sense of ownership over their creations.
– Art station or corner: Set up a small table or shelf stocked with supplies.
– Display area: Use a wall, corkboard, or wire with clips to showcase recent pieces.
– Storage bins: Label bins or drawers for ongoing projects and finished work.
2. Sort and Declutter Regularly
It’s natural to accumulate a large volume of art, so make sorting a regular habit to avoid overwhelm.
– Set a schedule: Weekly or monthly reviews work well.
– Involve your child: Let them choose favorites to keep.
– Recycle or repurpose: Consider turning some projects into gift wrap, cards, or new crafts.
3. Use Storage Solutions That Work
Depending on the space you have and how much art you want to keep, these options can help you organize effectively.
Flat Storage
– Portfolio folders: Large, artist-style portfolios are great for flat artwork.
– Expandable file folders: Organize by date, school year, or theme.
Three-Dimensional Storage
– Plastic bins: Clear bins work well for bulky crafts.
– Shadow boxes: For treasured 3D pieces, display and protect them at the same time.
Digital Storage
– Photograph artwork: Take pictures of large or fragile items.
– Create digital albums: Use apps or online photo books to save and share collections.
– Scan drawings: High-quality scans can be printed or used for projects.
4. Rotate Displays
Instead of trying to show everything at once, rotate artwork to keep your space fresh and your child engaged.
– Gallery wall: Use frames with easy-open backs to switch art regularly.
– Clipboards or wire display: Change featured pieces weekly or monthly.
– Digital frame: Upload photos of art for a changing slideshow.
5. Repurpose Art Creatively
Turn your child’s creations into functional or decorative items that everyone can enjoy.
– Greeting cards: Cut and fold drawings into personalized cards.
– Calendars: Use scanned images to create yearly calendars.
– Gift wrap: Use large paintings as one-of-a-kind wrapping paper.
– Books: Bind artworks into handmade keepsake books.
6. Establish Rules for New Artworks
Setting guidelines helps manage expectations and space limits.
– One-in, one-out: When new artwork comes in, consider retiring or archiving an older piece.
– Size limits: Agree on a size limit for what can be stored.
– Special projects: Reserve space for milestone creations like school projects or awards.
7. Encourage Your Child’s Participation
Getting children involved in organizing their art teaches responsibility and pride.
– Decision-making: Let them pick favorites for display or storage.
– Labeling: Encourage writing dates, titles, or notes on their art.
– Creative input: Brainstorm new ways to showcase or use their work.
8. Keep Organized Supplies Accessible
Good organization starts with having your supplies in order, making it easier to create and manage artwork.
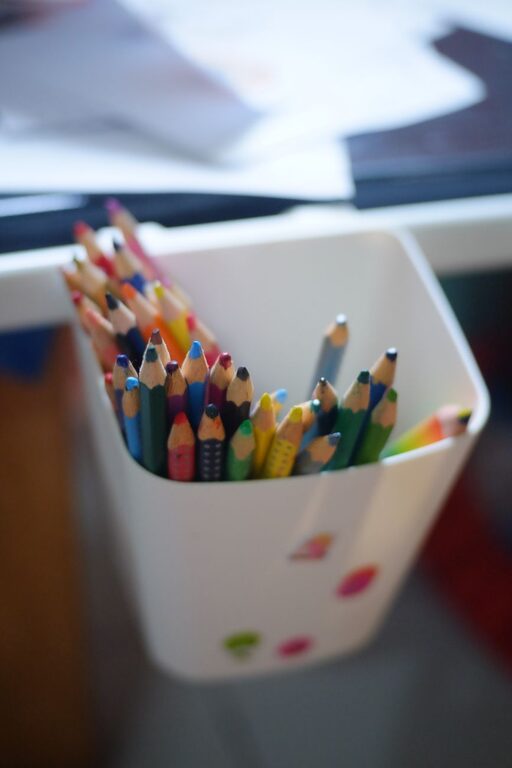
– Clear containers: Sort crayons, markers, and paintbrushes by type and color.
– Label everything: Helps kids put things back where they belong.
– Portable kits: Use bins or trays for art on the go.
9. Be Mindful of Sentimental Value
It’s important to strike a balance between preserving memories and maintaining a clutter-free home.
– Keep the best: Select pieces that truly represent your child’s growth or special moments.
– Backup digitally: Save the rest digitally so they’re not lost.
– Celebrate progress: Review art yearly to see improvement and change.
Conclusion
Organizing kids’ artwork doesn’t have to be overwhelming. With a simple system tailored to your family’s needs, you can keep your child’s creative expressions safe and appreciated. Try combining physical storage with digital backups, involve your child in the process, and celebrate their artistic journey every step of the way.
Remember, the goal is to cherish these colorful memories without letting them take over your home. Happy organizing!